Scanning
and Vulnerabilities
GVM
(OpenVAS)
1.
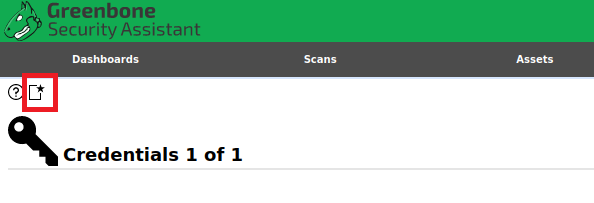
Login to the GVM server then hoover over
Configuration and choose Credentials:

2.
Click on the icon to create a new
credential:
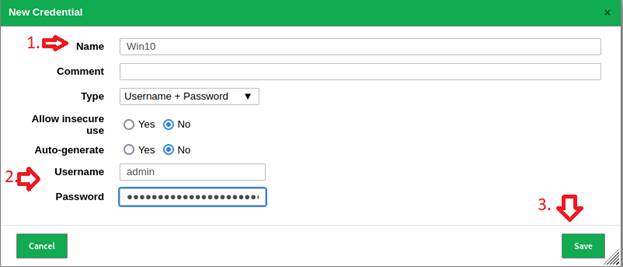
Give your credential a name, select the appropriate type from the drop down,
then input username and password, then click Save:
3.
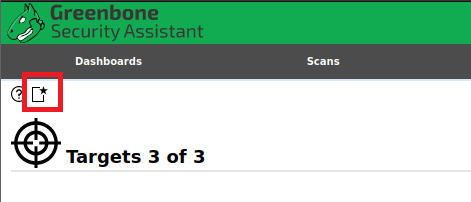
Hoover over Configuration again and
this time select Targets, then click the icon to add a new target:
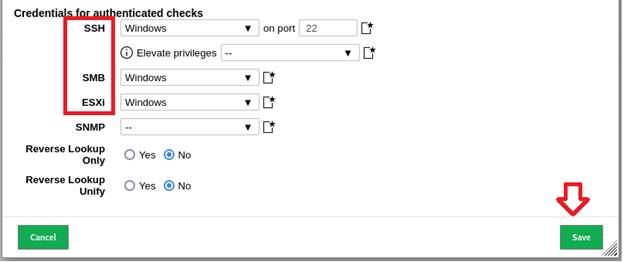
Give your target a name, then provide an IP address or subnet in the Hosts
section (alternatively you can upload a text file). Choose your scan parameters
in Port List and Alive Test
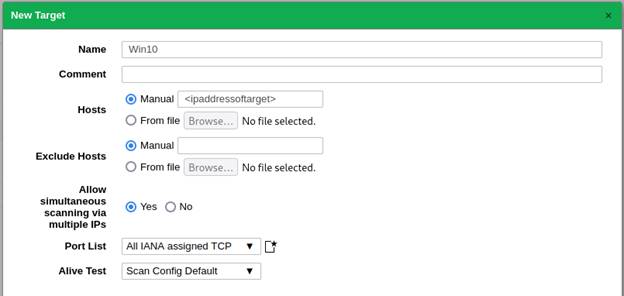
Under Credentials for authenticated checks choose the credentials we saved in
the previous step (it will be named windows in the example below) then click
Save:
4.
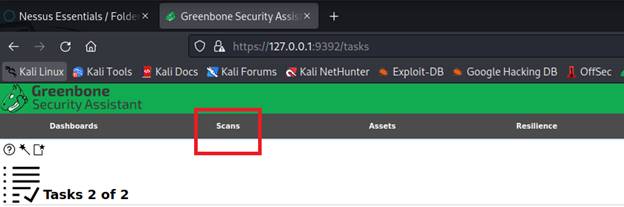
Hoover over Scans and select Tasks
5.
Hoover over the task creator icon and
click New Task

6.
Give your task a name and comment if you
desire. Select the target we setup from the previous steps from the drop down
(named Win10 Creds in this example), then click Save:

7.
Click the start button to the right of
your task name to being the scan:

8.
This will take some time. In a real
scenario this would be performed after hours or during a maintenance window and
can take several hours pending the scope of the assessment.
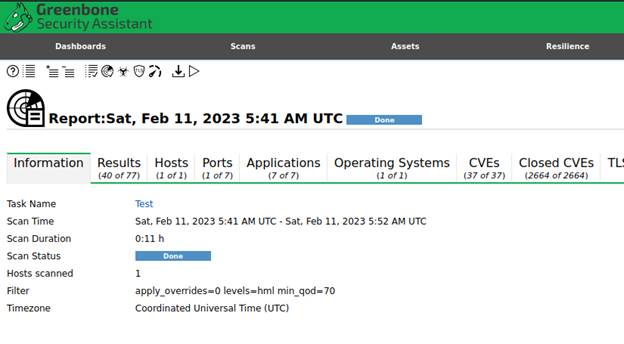
Once the scan is complete click the date under the Last Report to see the
findings:

The results tab will show the findings in the order of Highest to lowest based
on the score it has.
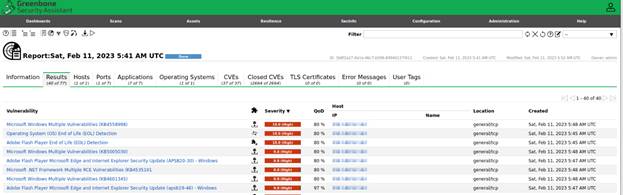
Other helpful tabs will be the Ports, and CVEs, to drill down further into what
remediation actions to take.